To master lighting basics for video, you should focus on three key components: the key light, fill light, and backlight. The key light is your primary source, placed about 45° from your subject to create dimension. The fill light softens shadows, usually positioned opposite the key, while the backlight separates your subject from the background, adding depth. Understanding how to balance these elements will transform your videos, and exploring further will perfect your lighting technique.
Key Takeaways
- The key light is the primary source, placed at about 45° to illuminate the subject’s main features.
- Fill light softens shadows created by the key light and is positioned opposite for balanced exposure.
- Backlight separates the subject from the background, adding depth and dimension to the scene.
- Proper placement and intensity of all lights ensure a cohesive, professional-looking shot.
- Diffusion and control tools like softboxes and gels help soften light and prevent harsh shadows.
Ever wondered how professional videos look so polished and vibrant? The secret lies in mastering basic lighting techniques and understanding how to manipulate color temperature. Lighting isn’t just about illuminating your subject; it shapes the mood, adds depth, and makes your footage pop. When you’re setting up your scene, consider how different lighting angles and intensities work together to create a balanced, visually appealing shot. A key aspect of this is understanding how to use the key light, fill light, and backlight effectively, but equally important is grasping how to control color temperature to set the right tone.
Mastering lighting and color temperature is key to vibrant, professional-looking videos.
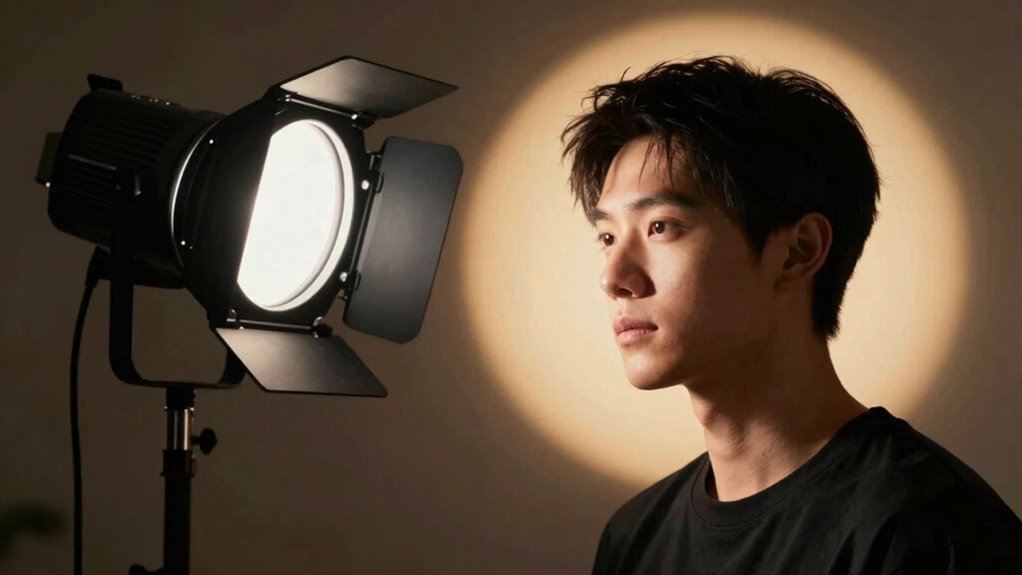
Lighting techniques involve more than just turning on a lamp. The key light is your primary source, usually placed at about a 45-degree angle from your subject. It defines the overall exposure and highlights the main features. To create a natural look, you need to pay attention to the color temperature of this light. Cooler temperatures, around 5600K, mimic daylight, giving your scene a crisp, neutral feel. Warmer temperatures, around 3200K, produce a cozy, inviting atmosphere. Adjusting color temperature helps you communicate the mood—whether it’s a bright, energetic vibe or a warm, intimate setting. Experimenting with different color temperatures can drastically change how your audience perceives the scene.
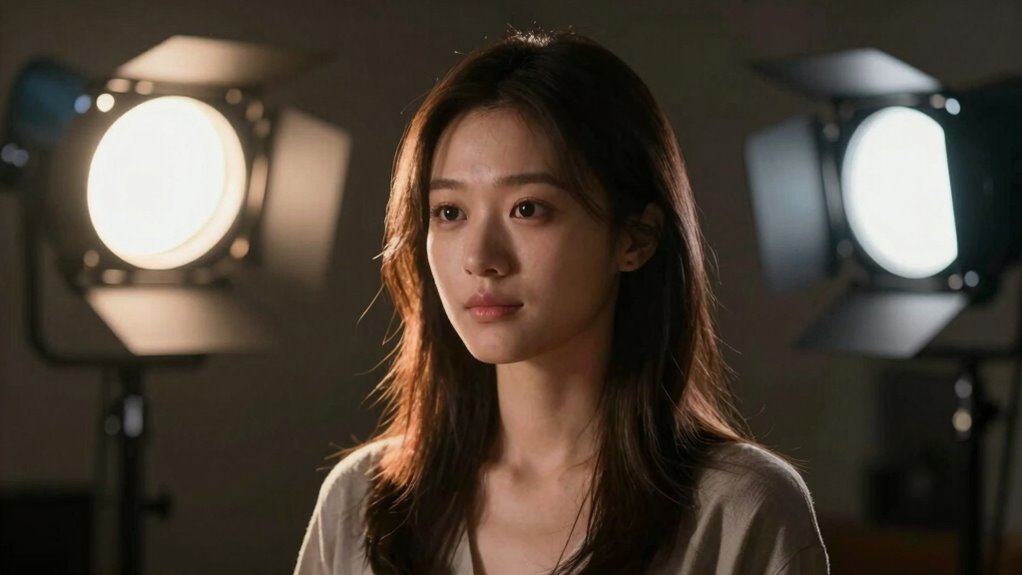
Next, you add a fill light to soften shadows created by the key light. This light is usually less intense and placed opposite the key, filling in the darker areas without eliminating shadows completely. You’ll want to keep the fill light at a slightly warmer or cooler color temperature, matching or complementing the key light, to maintain color harmony. Using gels or adjusting light settings allows you to fine-tune the ambiance. Proper lighting techniques also involve controlling light spill and diffusion. Using softboxes, reflectors, or diffusers can help spread the light evenly and reduce harsh shadows, resulting in a more professional look. Additionally, understanding the importance of light balance can help you achieve a cohesive scene where all elements work harmoniously. Finally, the backlight, or hair light, adds depth by separating your subject from the background. It’s placed behind and above the subject, highlighting the edges and creating a sense of dimension. This light often has a slightly different color temperature to add contrast and interest, but it should complement the overall scene. The key to a professional-looking video is balancing all these elements—adjusting angles, intensities, and color temperature—so your subject pops and the scene feels cohesive.
professional softbox lighting kit for video
As an affiliate, we earn on qualifying purchases.
As an affiliate, we earn on qualifying purchases.
Frequently Asked Questions
How Do I Choose the Right Color Temperature for My Lighting?
You should choose a color temperature that matches your light tone and the mood of your scene. For a natural look, go for around 5600K, which mimics daylight. If you want a warmer feel, select around 3200K for a cozy, amber glow. Matching your lighting’s color temperature with your environment or desired atmosphere helps create consistent, professional-looking footage that feels authentic and visually appealing.
What Are the Differences Between LED and Fluorescent Video Lights?
Think of choosing lights like picking a paintbrush for your masterpiece. LED lights outshine fluorescent ones in color accuracy, giving you cleaner, more natural tones on camera. They’re energy-efficient, last longer, and don’t flicker, unlike fluorescents which can cause color shifts or flickering issues. If you want precise, vibrant visuals, LEDs are your best bet, especially when capturing detailed skin tones and subtle hues.
How Can I Prevent Shadows Caused by Lighting Setups?
To prevent shadows from your lighting setup, you should use diffuse lighting by softening your lights with diffusion material or softboxes. Bounce techniques also help by reflecting light off surfaces like walls or reflectors to fill in shadows naturally. Position your lights carefully, ensuring they are evenly distributed around your subject. Adjust the angles and add additional bounce or diffusion if shadows persist, creating a more balanced, shadow-free look.
What Are Affordable Options for Professional-Quality Lighting Equipment?
You can find budget-friendly options like LED panel lights, ring lights, or softboxes that offer professional quality without breaking the bank. DIY lighting solutions, such as using clamp lights with daylight bulbs or repurposing desk lamps, work great too. These options are affordable, easy to set up, and perfect for achieving a professional look on a tight budget. Just guarantee you prioritize good light diffusion and consistent brightness.
How Do I Adjust Lighting for Different Skin Tones?
Think of lighting as a chameleon adjusting to every skin tone. To achieve skin tone adaptation, tweak your key and fill lights to complement diverse skin colors, avoiding harsh shadows or washed-out looks. Use softer, warmer lights for darker tones and brighter, cooler lights for lighter ones. Embracing lighting diversity guarantees everyone’s skin looks natural and flattering, making your videos inclusive and visually appealing across all tones.
adjustable LED key light for filming
As an affiliate, we earn on qualifying purchases.
As an affiliate, we earn on qualifying purchases.
Conclusion
Mastering the key light, fill, and backlight transforms your videos from amateur to Hollywood-level brilliance. When you balance these elements, your scene becomes a mesmerizing masterpiece that grabs viewers’ attention like a magnet. Remember, lighting isn’t just about visibility — it’s the magic that shapes mood and personality. So, experiment, adjust, and watch your videos shine brighter than the stars themselves, turning every shot into a stunning visual story you’ll be proud of.
video lighting diffuser and gels
As an affiliate, we earn on qualifying purchases.
As an affiliate, we earn on qualifying purchases.
backlight for video studio
As an affiliate, we earn on qualifying purchases.
As an affiliate, we earn on qualifying purchases.