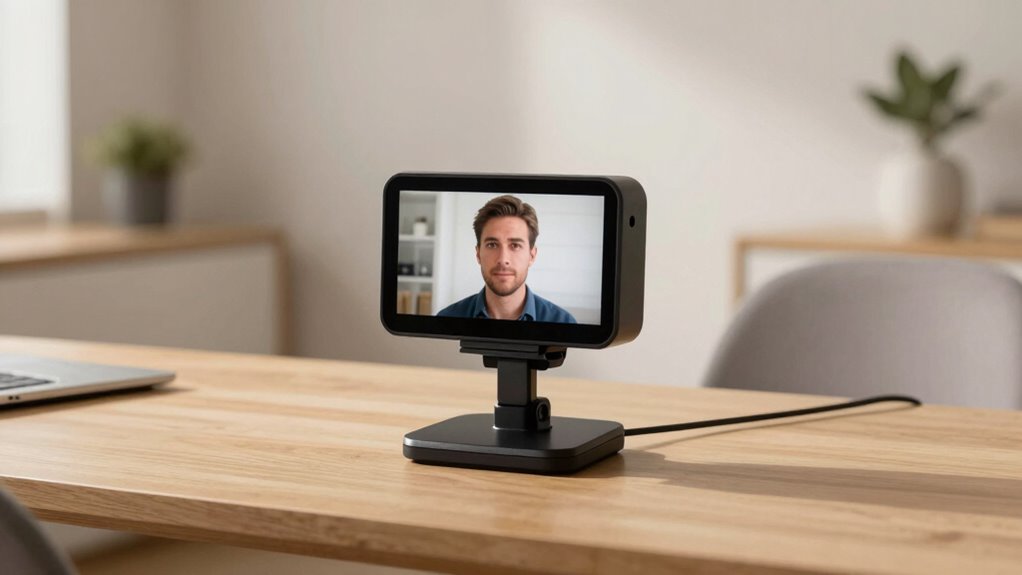

To make your video calls look professional, focus on good lighting that’s even and diffused. Use a mix of natural light and soft artificial sources, positioning lights slightly above eye level at a 45° angle for flattering results. Avoid harsh shadows or color casts by choosing daylight or neutral bulbs. Test and adjust your setup before each call for the best look—if you want expert tips, keep going.
Key Takeaways
- Use diffused, even lighting with softboxes or DIY diffusers to minimize shadows and create a natural, polished look.
- Balance natural daylight with adjustable artificial lights at 45° angles above eye level for optimal face illumination.
- Select neutral, daylight-colored bulbs (5000K-6500K) to achieve consistent, professional skin tones on camera.
- Test and adjust your lighting setup before calls, ensuring even brightness and avoiding harsh shadows or glare.
- Incorporate reflectors or additional light sources to enhance face illumination and improve overall video quality.
Zoom Lighting for Computer, Adjustable Desk Lighting for Video Calls, 30 Light Modes Video Conference Light, Desk Ring Light with Stand for Webcam, Meetings, Live Stream, Home Office. CRI 97.8
Uniform and Soft Illumination: LitONES desk video conference light utilizes advanced edge-lit technology, delivering even and gentle lighting…
As an affiliate, we earn on qualifying purchases.
As an affiliate, we earn on qualifying purchases.
Why Good Lighting Is Key to Looking Professional on Video Calls

Good lighting is essential for looking professional on video calls because it guarantees your face is clearly visible and well-defined. Proper lighting automation allows you to adjust brightness effortlessly, ensuring consistent illumination regardless of time or weather. Incorporating lighting automation can also help you adapt quickly to changing conditions, so you always look your best. Additionally, integrating smart home technology can enable your lighting to respond to ambient light levels automatically, further enhancing your appearance. Utilizing lighting control systems can optimize your setup for different environments and activities. When your lighting is well-controlled, shadows and glare diminish, making your appearance sharp and polished. This not only boosts your confidence but also ensures colleagues and clients see you at your best. Investing in adjustable lighting with automation and adjustable color temperature helps you maintain a professional look without fuss, making every video call a seamless, polished experience. Moreover, choosing color temperature adjustment allows you to fine-tune the warmth or coolness of your lighting to suit various professional settings. Implementing lighting calibration can further refine your setup for the most natural and flattering appearance.

Torjim Softbox Photography Lighting Kit, 16'' x 16'' Professional Softbox Lighting Kit with 85W 3000-7500K LED Bulbs, Studio Lights for Photography/Video Recording/Live Streaming/Portraits Shooting
【Illuminate Your Creativity】 Torjim softbox lighting kit is made of high-quality PET fabric and a foldable nylon cover,…
As an affiliate, we earn on qualifying purchases.
As an affiliate, we earn on qualifying purchases.
How to Choose Natural and Artificial Lighting for Your Space
To achieve the best lighting for your video calls, you need to balance daylight with artificial light and choose sources that complement each other. Proper light placement is essential to avoid shadows and glare, making your face look clear and professional. Consider how different lighting options work together to create a well-lit, comfortable space for your calls. Additionally, adjusting the lighting setup to suit your environment can significantly enhance your video quality and overall appearance. Understanding how color temperature adjustments influence the warmth or coolness of your lighting can help you create a more natural and polished look during your calls. Being mindful of lighting techniques can help you achieve a natural and polished look during your calls. Incorporating knowledge about air quality can also contribute to a healthier and more comfortable environment, further improving your overall video call experience. For optimal results, paying attention to ambient lighting helps create a balanced and professional appearance on camera.
Balancing Daylight and Artificial Light
Finding the right balance between daylight and artificial light is essential for creating a well-lit, comfortable space on video calls. Natural light offers a soft, flattering lighting color, but it can fluctuate throughout the day. Artificial lighting provides consistency and control, especially with light diffusion to reduce harsh shadows. To achieve harmony, consider the timing of your natural light and supplement with artificial sources when needed. Use diffused light to soften shadows and maintain a natural look. Adjusting your setup based on these factors ensures your face is evenly lit and professional-looking, regardless of outside conditions. Understanding lighting balance can help you optimize your setup for any situation, and experimenting with different lighting conditions can further enhance your video appearance. Being aware of indoor air quality can also contribute to a more comfortable environment during long video sessions. Additionally, paying attention to color temperature can make a significant difference in how natural or professional your lighting appears.
Selecting Suitable Light Sources
Choosing the right light sources for your space involves evaluating both natural and artificial options to achieve ideal video call lighting.
Natural light offers a soft, natural color temperature, but it varies throughout the day.
Artificial lights allow you to control color temperature, with warmer tones creating a cozy feel and cooler tones appearing more professional.
Look for light sources with adjustable brightness and consistent color temperature to avoid flickering or color shifts.
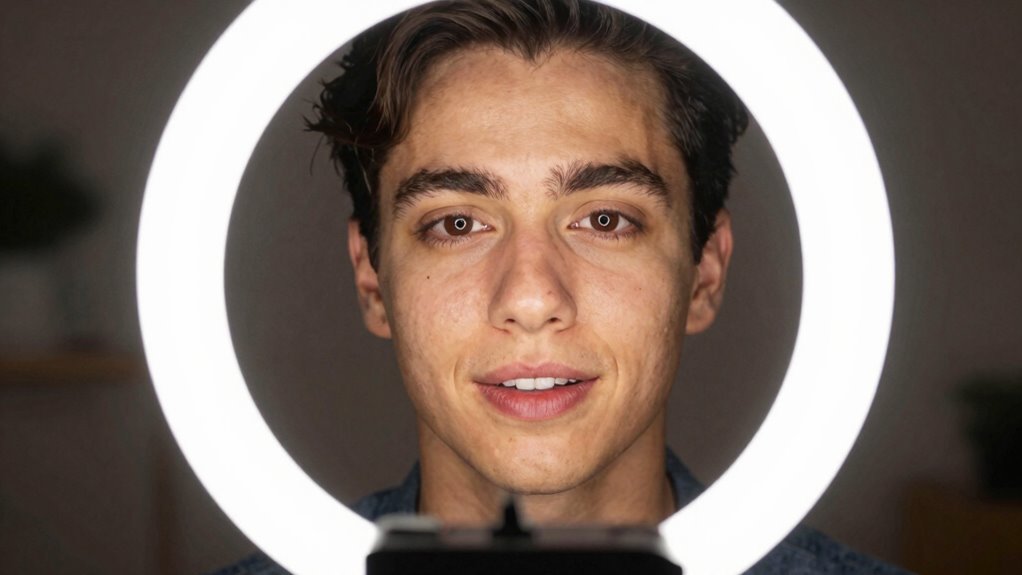
Light diffusion is essential; diffused light reduces harsh shadows and creates a more flattering look.
Using lamps with diffusers or softboxes helps spread light evenly across your face.
Combining well-chosen natural and artificial lights ensures your setup remains flexible, balanced, and professional-looking during every call.
Optimizing Light Placement
Proper light placement can dramatically improve how you appear on video calls. To achieve this, consider both natural and artificial lighting, paying attention to color temperature. Aim for a soft, neutral tone—around 5000K to 6500K—that mimics daylight and reduces color distortions. Position your light sources slightly above eye level and at a 45-degree angle to avoid harsh shadows. Use light diffusion, like a softbox or sheer curtain, to spread light evenly across your face and minimize glare. Avoid direct, focused lights that create uneven highlights. Balancing light temperature and diffusion helps produce a professional, well-lit appearance. Experiment with placement until your face is evenly illuminated, ensuring your surroundings look natural and inviting on camera. Understanding lighting best practices can further enhance your setup for a polished look. Additionally, adjusting your background lighting can prevent distractions and create a more professional environment on camera. Incorporating natural light sources, such as positioning near windows, can also significantly improve your overall lighting quality. Being mindful of light placement and utilizing techniques like light diffusion can help you achieve a consistent, flattering look during your video calls.

DAYBETTER BR30 LED Light Bulbs Indoor Flood Light, 5000K Daylight White LED Bulb 65W Equivalent, Dimmable, E26 Base, 800LM, Recessed Can Bulb for Living Room Bedroom Dining Room Bathroom, 12Pack
Dimming 5000K BR30 LED Bulb: The dimmable feature of the BR30 light bulbs are 5000K and 65 W…
As an affiliate, we earn on qualifying purchases.
As an affiliate, we earn on qualifying purchases.
Tips for Positioning Lights for Flattering, Even Illumination

To achieve flattering, even illumination during video calls, position your lights carefully to minimize shadows and highlight your features naturally. Proper light positioning ensures your face is well-lit without harsh shadows that can distort your appearance. Place your main light slightly above and in front of you, pointing downward at a slight angle, for balanced shadow control. Use a secondary fill light or reflector to soften shadows on the opposite side of your face, creating a more even look. Avoid placing lights directly behind or above your head, which can cause unflattering shadows or overexposure. Adjust the distance and angle until your face is evenly illuminated, with natural skin tones. Understanding lighting principles can help you optimize your setup for the best results. Effective shadow control and thoughtful light positioning are key to a polished, professional appearance on camera.

Linkind Matter Smart Plug, Work with Apple Home, Siri, Alexa, Google, SmartThings, Smart Home Smart Outlet Timer 15A/1800W, APP Remote Control & Schedule, 2.4G Wi-Fi Only, 4 Pack
【Easy Setup, One Control】With Matter, Skip the step of downloading and registering multiple manufacturers' apps every time you…
As an affiliate, we earn on qualifying purchases.
As an affiliate, we earn on qualifying purchases.
Budget-Friendly DIY Lighting Solutions You Can Try
If you’re looking to improve your lighting setup without breaking the bank, there are plenty of budget-friendly DIY options to try. You can use affordable desk lamps or LED strips, adjusting the color temperature to match natural light for a more professional look. Proper electrical safety when working with DIY lighting setups is crucial to prevent hazards and ensure your equipment functions correctly. To soften harsh shadows, incorporate light diffusion by placing a sheer cloth or white paper in front of the light source. This simple step helps create a flattering, even illumination that minimizes unflattering shadows and glare. Experiment with different angles and diffusion materials to find the best balance for your space, and consider lighting fundamentals to optimize your setup effectively. Additionally, understanding the importance of professional lighting standards can help you achieve a polished look even with basic equipment. Managing lighting controls like dimmers or adjustable mounts can further improve your setup, giving you greater flexibility in your lighting approach. Even with basic equipment, managing color temperature and light diffusion can dramatically elevate your video call appearance without spending a fortune.
Common Lighting Mistakes That Make You Look Unprofessional

Have you ever noticed how harsh shadows or uneven lighting can make you look unprofessional on video calls? Poor shadow management creates unflattering dark areas, while incorrect lighting color can cast an unnatural hue. These mistakes distract your viewers and diminish your credibility. For example, using a single, harsh light causes sharp shadows on your face, and mismatched lighting color makes your skin look off. To avoid this, ensure your lighting is soft and balanced, with proper shadow control. Proper lighting techniques can make a significant difference in your video quality. Here’s a quick comparison:
| Issue | Effect | Solution |
|---|---|---|
| Harsh shadows | Unflattering appearance | Use diffused, even lighting |
| Incorrect lighting color | Looks unnatural | Choose neutral, daylight bulbs |
| Uneven lighting | Distracts viewers | Balance multiple light sources |
Additionally, selecting appropriate home lighting options can help you achieve a professional look while maintaining a cozy environment. Paying attention to lighting setup is essential for creating a polished appearance. Small adjustments like adjusting the position of your lights or using diffusers and reflectors can dramatically improve your video quality. Avoid these mistakes to look polished and professional.
How to Test and Adjust Your Lighting Before Each Call

Before starting your video call, take a few moments to test and adjust your lighting to guarantee you look professional.
Begin by checking your lighting calibration—ensure your face is evenly lit without harsh shadows or overexposure. Adjust your light sources or their positions if necessary.
Start by ensuring your face is evenly lit, free of harsh shadows or overexposure, for a professional look.
Pay attention to your camera exposure settings, making sure your camera isn’t too dark or washed out. If your camera has exposure controls, tweak them for a balanced image.
Use your preview window to observe how your face appears and make incremental adjustments until your lighting looks natural and consistent.
Proper testing before each call helps prevent surprises and ensures you present a polished, professional appearance every time.
Frequently Asked Questions
How Often Should I Replace or Upgrade My Lighting Equipment?
You should replace or upgrade your lighting equipment every 2 to 3 years, depending on its lighting lifespan and performance.
If your lights dim, flicker, or no longer provide even, professional-looking illumination, it’s time for an upgrade.
Regularly evaluating your setup guarantees you maintain high-quality visuals during calls.
Investing in newer equipment can improve lighting, reduce eye strain, and keep your video calls looking sharp and professional.
Can Colored or Themed Lighting Improve My Video Call Appearance?
Colored or themed lighting can definitely boost your video call appearance, adding a vibrant touch that catches the eye. Imagine your face softly glowing with a subtle hue, creating an inviting and professional atmosphere.
Colored lighting lets you express personality or set a mood, while themed lighting can add a fun or seasonal vibe. Just be sure to keep it balanced—too much can distract, but the right shades enhance your presence effortlessly.
What Are the Best Portable Lighting Options for On-The-Go Professionals?
You should consider portable options like compact LED panels, ring lights, or clip-on lights for on-the-go lighting. These options are lightweight, rechargeable, and easy to set up, making them perfect for professionals who need reliable lighting anywhere.
With adjustable brightness and color temperature, these on-the-go lighting solutions guarantee your video calls look professional, no matter where you are. Pack them in your bag and stay camera-ready anytime.
How Do I Minimize Shadows Caused by My Existing Furniture or Room Features?
To minimize shadows caused by your furniture or room features, adjust your furniture placement so that it doesn’t block your light source.
Keep reflective surfaces like mirrors or glossy furniture away from direct light, or angle them to bounce light evenly.
Use soft, diffused lighting to fill in shadows, and position light sources at eye level for a balanced, professional look during your video calls.
Are There Specific Lighting Setups Recommended for Different Skin Tones?
Sure, because one size fits all, right? For skin tone lighting, you should match your light’s color temperature to your skin’s undertones—warm for golden hues, cool for rosier shades.
Use soft, diffused lighting that complements your skin tone, avoiding harsh shadows.
Experiment with color matching to enhance your natural glow. Remember, the goal’s to look like you, not a wax figure—so tailor your lighting to your unique skin tone.
Conclusion
Getting your lighting right can totally elevate your video calls, making you look polished and confident—no need for a DeLorean or fancy studio. Just follow these simple tips, test your setup before each call, and avoid common mistakes. Remember, even a humble desk lamp can do wonders if positioned correctly. With a little effort, you’ll be the star of every Zoom meeting, proving that good lighting truly is your secret weapon in the digital age.