
To fix a wobbly chair without a full workshop, start by checking for loose screws, bolts, or joints and tighten or re-glue them as needed. Use household items like shims, felt pads, or coins to level uneven legs on floors. Reinforce connections with simple repairs like applying wood glue or using brackets. Keep testing and adjusting until stable. For more tips on fixing wobbling chairs without special tools, explore additional strategies below.
Key Takeaways
- Inspect and tighten loose screws, bolts, or joints using household tools like pliers or a screwdriver.
- Use shims, felt pads, or small household items under uneven legs to level the chair.
- Apply wood glue or epoxy to cracked joints for added stability without special workshop tools.
- Check for uneven legs with a simple level or straightedge and adjust or pad as needed.
- Regularly re-tighten hardware and address damage promptly to maintain long-term stability.
wooden chair repair kit
As an affiliate, we earn on qualifying purchases.
As an affiliate, we earn on qualifying purchases.
Identify Why Your Chair Wobbles
When your chair wobbles, the first step is to identify the cause. Chair wobble causes can stem from uneven legs, loose joints, or structural issues in the frame. Start by inspecting each leg to see if any are shorter or uneven. Check for loose bolts or screws that connect the seat to the base—these often cause instability. Structural issues, like cracks in the frame or worn-out joints, also contribute to wobbling. If you notice any cracks or damaged parts, these are likely the root of the problem. Understanding whether your wobble comes from uneven legs or structural damage helps guide your repair approach. Properly diagnosing the cause guarantees you fix the right issue and restore stability to your chair. Additionally, performing simple tests to assess the integrity of the joints and frame can help confirm the source of wobbling. To ensure a long-lasting fix, consider checking for common issues like loose or damaged parts that could recur over time. Recognizing the importance of body structure can also highlight how weight distribution and support affect chair stability. Being aware of structural integrity can help you spot underlying problems that might not be immediately obvious. Moreover, understanding the role of material quality can assist you in choosing durable repair solutions.
furniture shims for leveling
As an affiliate, we earn on qualifying purchases.
As an affiliate, we earn on qualifying purchases.
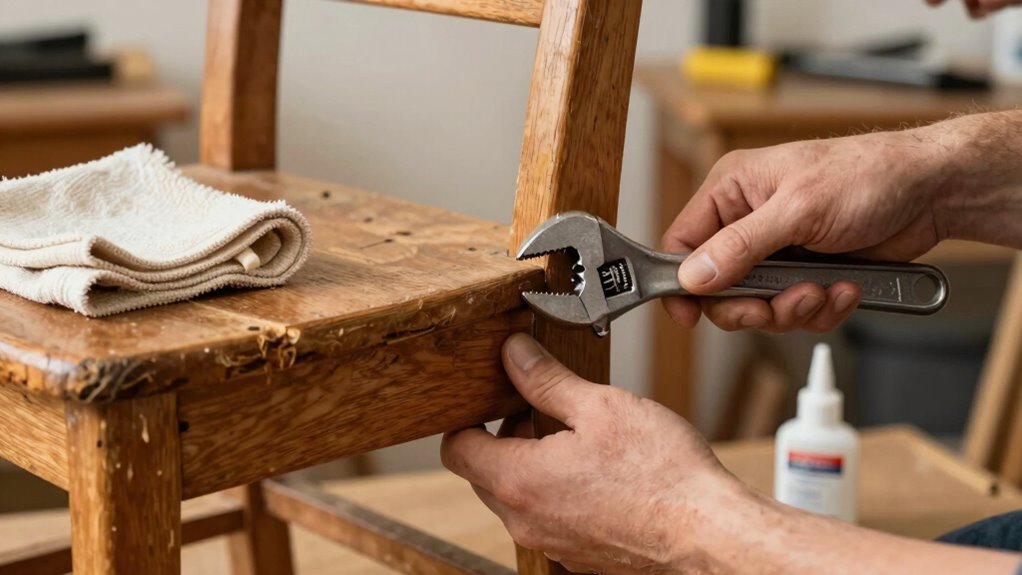
Gather Tools and Supplies to Fix Your Wobbly Chair
To successfully fix your wobbly chair, gather the necessary tools and supplies beforehand. Focus on items that improve chair stability, such as a rubber mallet, screwdriver, and wood glue if needed. Consider material considerations—if your chair has wooden joints, wood glue and clamps will help; for metal parts, a wrench might be essential. You may also want to have some sandpaper or a small file to smooth rough edges or uneven surfaces. Keep a level nearby to check for balance once you make adjustments. Having these supplies ready ensures you can work efficiently and avoid multiple trips to the store. Proper preparation helps you address the specific material considerations of your chair, making the fix more effective and lasting. Additionally, understanding basic woodworking techniques can improve your repair results and ensure a secure, long-lasting fix. Knowing how to identify the types of joint connections in your chair can also help you determine the best repair approach. For best results, reviewing common repair methods for different chair styles can guide your repair process. It’s also helpful to read up on safety precautions to prevent accidents during the repair. Being familiar with material properties can help you select the appropriate repair method and supplies for your chair.
wood glue for furniture repair
As an affiliate, we earn on qualifying purchases.
As an affiliate, we earn on qualifying purchases.
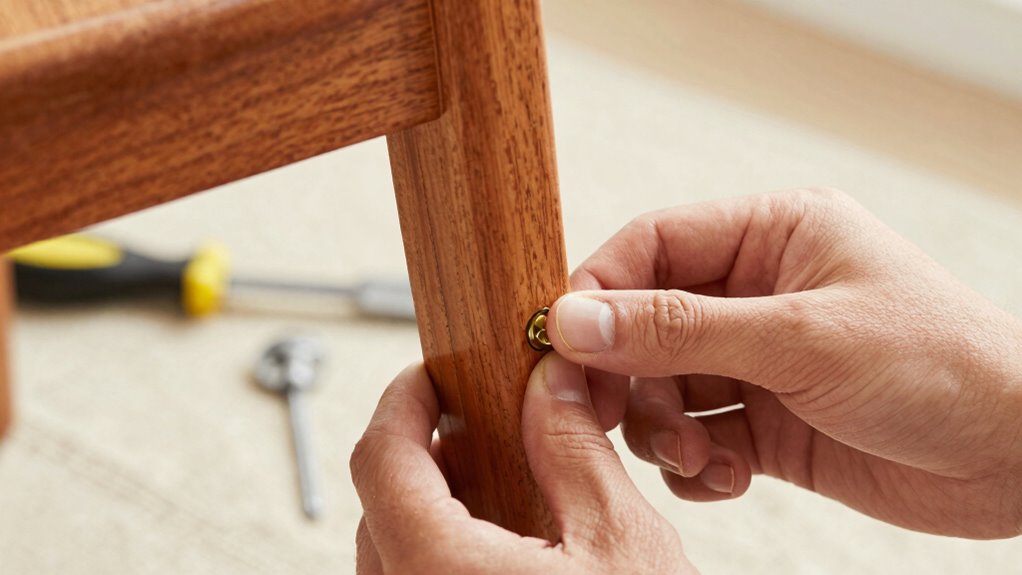
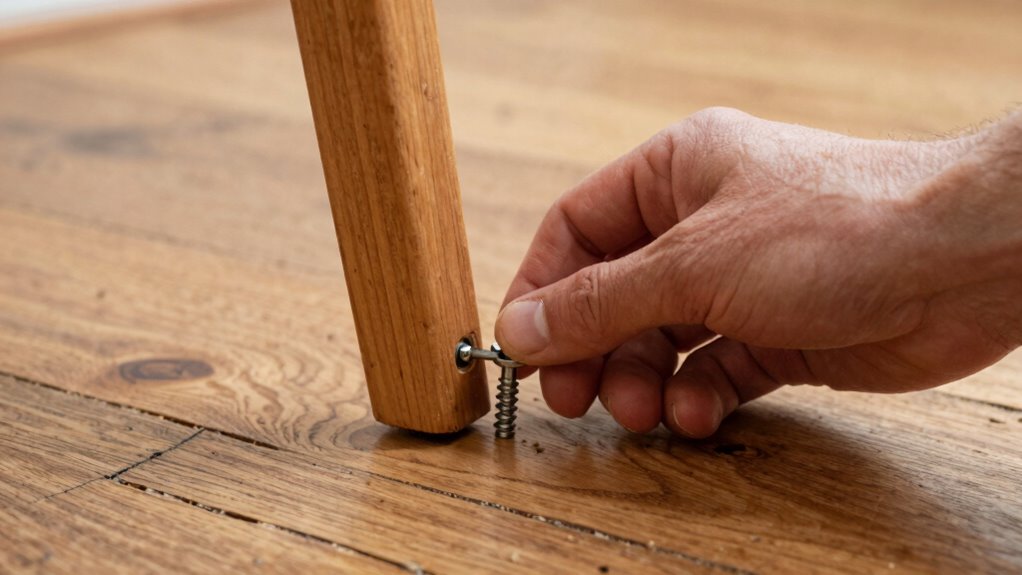
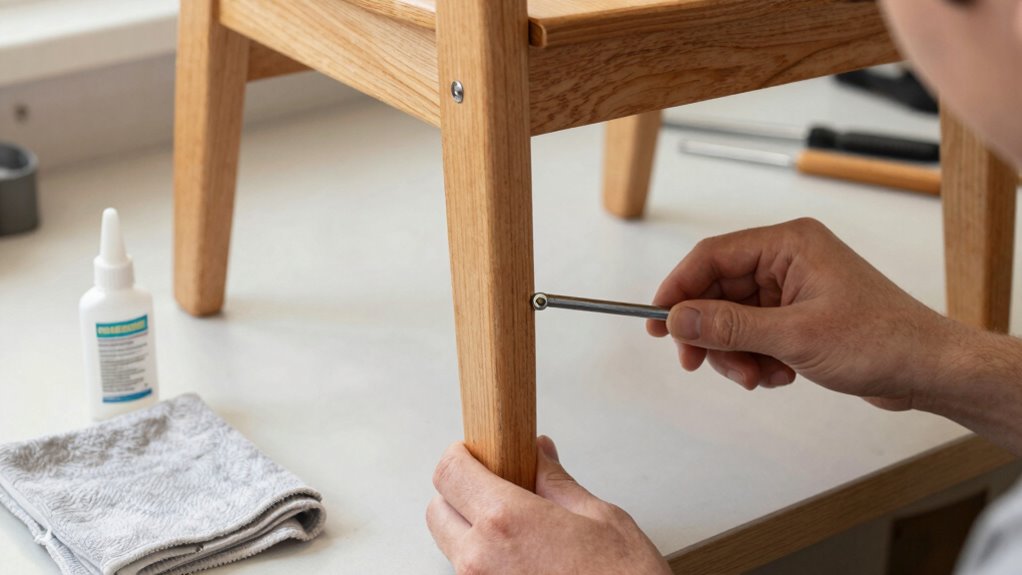
Tighten Loose Screws and Bolts
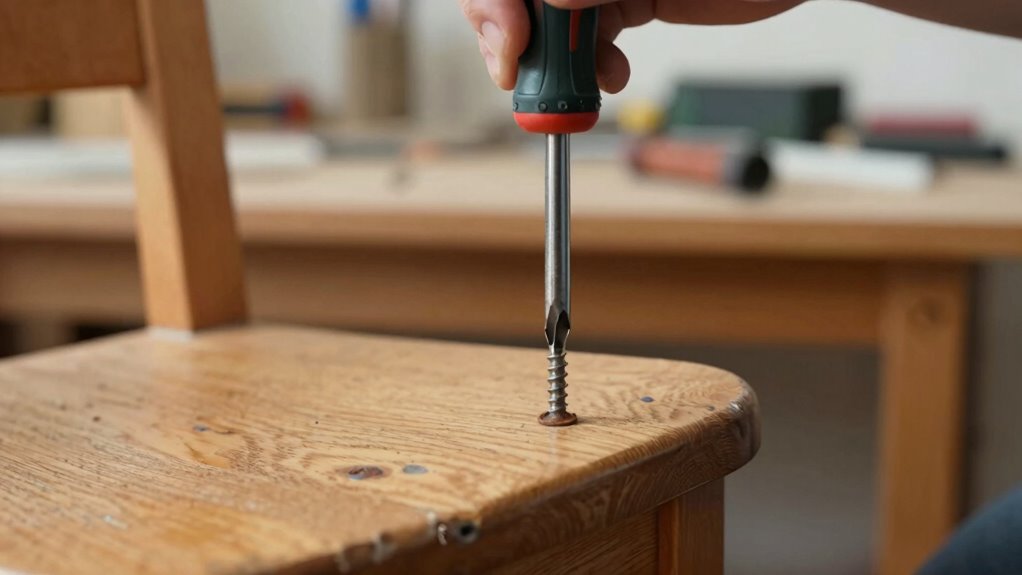
Start by locating all the screws and bolts that hold your chair together. Make sure you’re using the right tools to tighten each one securely. While you’re at it, check for any damage that might require replacing a fastener. If you notice any uneven or worn-out parts, consider replacing them to ensure stability and safety. Additionally, inspecting fastener quality can help prevent future loosening issues. Regularly assessing connection integrity can extend the lifespan of your furniture and maintain its stability. For optimal results, consider using appropriate yarn or adhesive to reinforce the connections where needed. Monitoring material durability can also help identify potential weak points before they cause problems, much like evaluating field‑of‑view and imaging‑scale in deep-sky imaging to ensure reliable results.
Locate All Fasteners
Before tightening any screws or bolts, you need to locate all the fasteners holding the chair together. This step guarantees you don’t miss any loose parts that cause wobbling. Check under the seat, along the legs, and where the components connect. Be aware of different fastener types, such as screws, bolts, or nuts, which may require different tools. Pay attention to screw sizes—some screws may be shorter or thicker, affecting how you tighten them. Use good lighting to spot hidden fasteners and take your time to examine all joints. Remember, missing even one fastener can leave the wobble unresolved. Additionally, understanding innovative cloud solutions can inspire creative approaches to troubleshooting and repairs, so consider exploring modern repair techniques for more effective fixes. Incorporating proper maintenance practices can also help prevent future loosening of fasteners and ensure your chair remains stable over time. Regularly inspecting and tightening fasteners is a key part of preventive maintenance, which helps prolong the life of your furniture.
Use Proper Tools
Having identified all the fasteners, it’s time to gather the right tools to tighten them securely. Different screw types require specific tools, so check whether you have Phillips, flathead, or hex screws. Using the correct screwdriver or Allen wrench guarantees a tight fit without damaging the screw head. Consider your furniture materials as well; softer woods might need gentler tools to avoid stripping. For metal bolts, a socket wrench or adjustable spanner works best, providing enough torque without over-tightening. Keep a set of screwdrivers and wrenches handy to match each fastener. Proper tools prevent stripping screws or damaging the chair’s structure. Taking the time to select the right tool for each screw type and furniture material will make your repairs more effective and lasting. Additionally, understanding basic furniture repair concepts can help you make more informed decisions during the fixing process. Being familiar with fastener types and their appropriate tools can further streamline your repair efforts. For optimal results, using appropriate tools ensures each fastener is tightened correctly without causing damage. Recognizing which tools are best suited for different materials can also help prevent common mistakes during repairs.
Check for Damage
Inspect your chair carefully to identify any loose screws or bolts that may be causing wobbliness. Check all joints, especially where the chair material—wood, metal, or plastic—connects. Tightening these fasteners can often stabilize the wobble. Be mindful of aesthetic considerations; use the appropriate tools and replacements that match your chair’s finish and style. Look for signs of wear, such as stripped threads or corrosion, which might indicate damage needing repair or replacement. If you find damage, consider whether it’s worth fixing or replacing the affected parts. Remember, loose hardware is usually the main culprit, but damaged components can also contribute to instability. Addressing these issues promptly restores your chair’s stability and prolongs its lifespan. Additionally, understanding manipulation tactics can help you recognize and prevent potential issues with faulty or deceptive repairs attempted by others. Recognizing sound healing principles can also guide you in choosing materials or repairs that promote overall stability and well-being.
adjustable furniture levelers
As an affiliate, we earn on qualifying purchases.
As an affiliate, we earn on qualifying purchases.
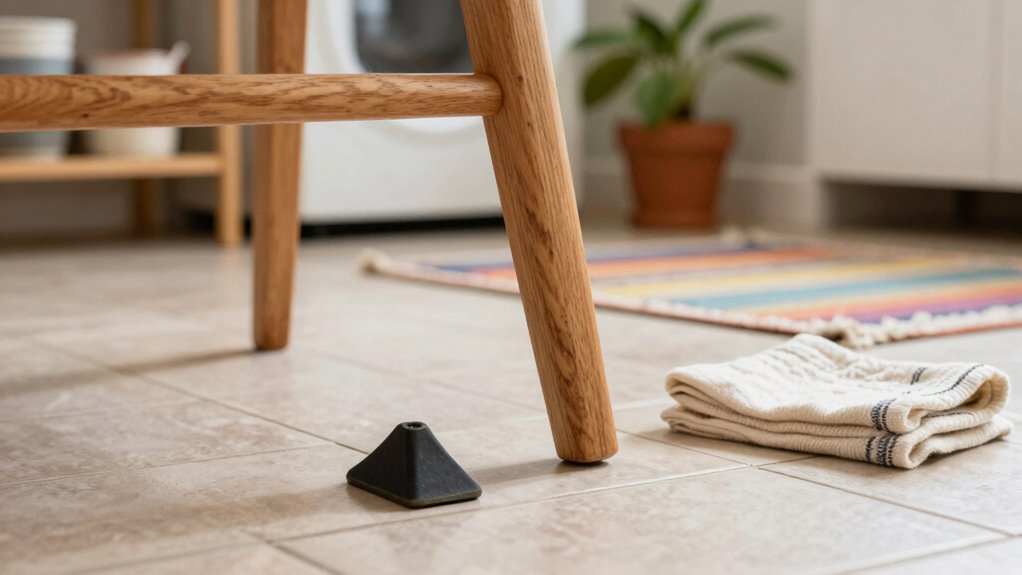
Level Your Chair on Uneven Floors or Surfaces
Uneven floors or surfaces can cause your chair to wobble, but you can stabilize it by leveling the legs. Start with floor leveling techniques by placing shims or pads under the shorter legs to even out the chair’s base. This will improve chair calibration, ensuring all legs touch the floor simultaneously. Use a bubble level or a straightedge to identify which legs need adjustment. If your chair has adjustable feet, turn them clockwise or counterclockwise to raise or lower each leg as needed. For non-adjustable legs, add small, stable pads or felt furniture glides to compensate for unevenness. Taking these steps helps your chair sit evenly, reducing wobbling and making it safer and more comfortable to use on uneven surfaces.
Use Household Items to Quickly Stabilize Your Chair
You can quickly stabilize your wobbly chair using common household items. Tighten any loose bolts, insert wooden shims where needed, or add non-slip pads to the chair’s legs. These simple fixes can make a big difference in minutes.
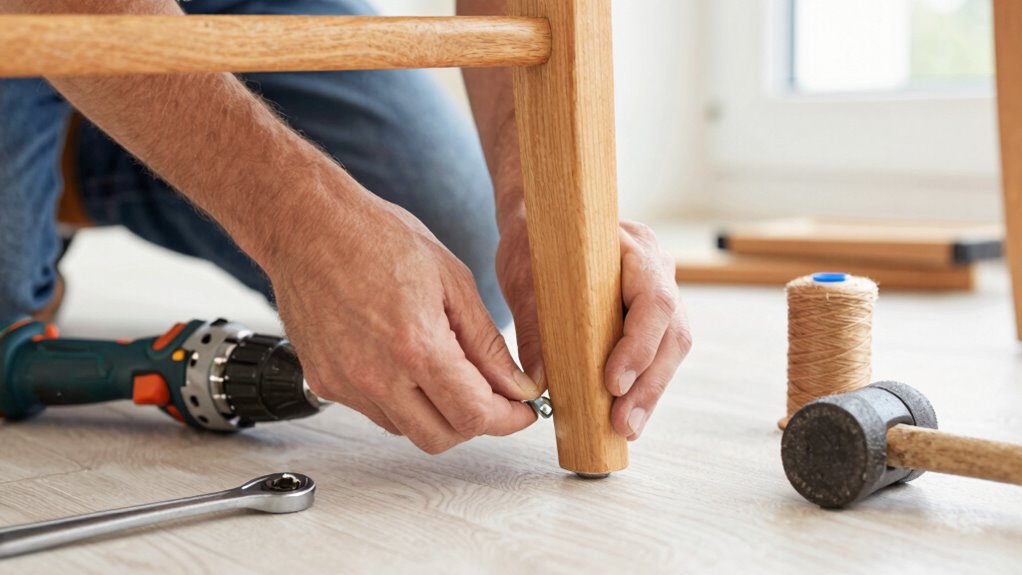
Tighten Loose Bolts
Loose bolts are a common cause of wobbliness, but you can quickly stabilize your chair by tightening them with household items. First, identify the loose bolts by inspecting the joints where the chair parts connect. Remember, chair manufacturing varies, so check the bolt specifications to confirm you tighten the right ones without over-tightening. Use a sturdy household item that fits the bolt head, like a coin or a butter knife, to turn and tighten the bolt securely. If the bolt spins freely, you might need a replacement or thread locker. Keep tools like pliers or a wrench nearby for stubborn bolts. Tightening loose bolts restores stability and extends your chair’s lifespan without needing professional repair.
- Coins or butter knives for turning bolts
- Pliers or a small wrench for stubborn bolts
- Thread locker for stripped threads
- Replacement bolts matching chair manufacturing specs
Use Wooden Shims
When a chair wobbles due to uneven legs or gaps between components, inserting wooden shims can quickly restore stability. Find small, thin pieces of wood or cut household items like toothpicks or thin cardboard into shims. Slide these wooden shims under the shorter legs or between the seat and the frame where gaps exist. Ensure they are snug but not overly tight, as this helps improve chair stability without causing damage. Check if the wobble reduces after inserting the shims; you may need to add more for extra support. Wooden shims are an inexpensive and effective solution that can provide immediate relief from wobbliness. This quick fix allows you to regain a stable, safe chair without the need for specialized tools or extensive repairs.
Add Non-Slip Pads
Adding non-slip pads is a quick and effective way to stabilize a wobbly chair, especially if the legs tend to slide or shift on smooth surfaces. You can use household items like rubber bands, corks, or old felt pads to create these grips. Simply cut or adapt these materials to fit the bottom of each leg. This helps prevent slipping and reduces wobbling. While doing this, take the opportunity for cushion replacement or fabric cleaning if the chair has upholstery—wobbles can sometimes be caused by uneven or loose fabric. For added stability, glue or tape the pads securely. Not only does this fix improve stability, but it also prolongs your chair’s lifespan without needing professional repairs.
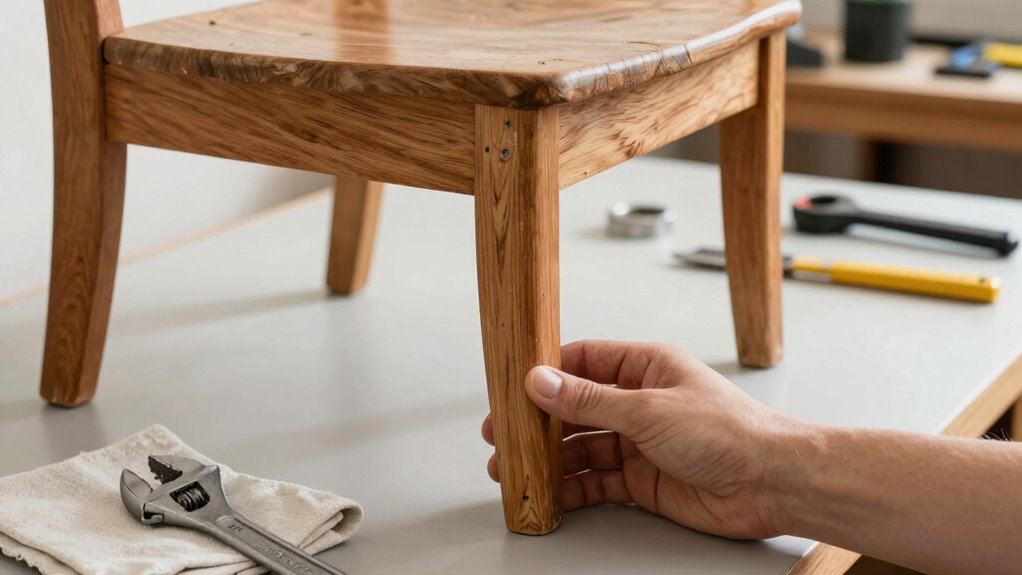
Fix Damaged or Uneven Legs With Shims or Pads
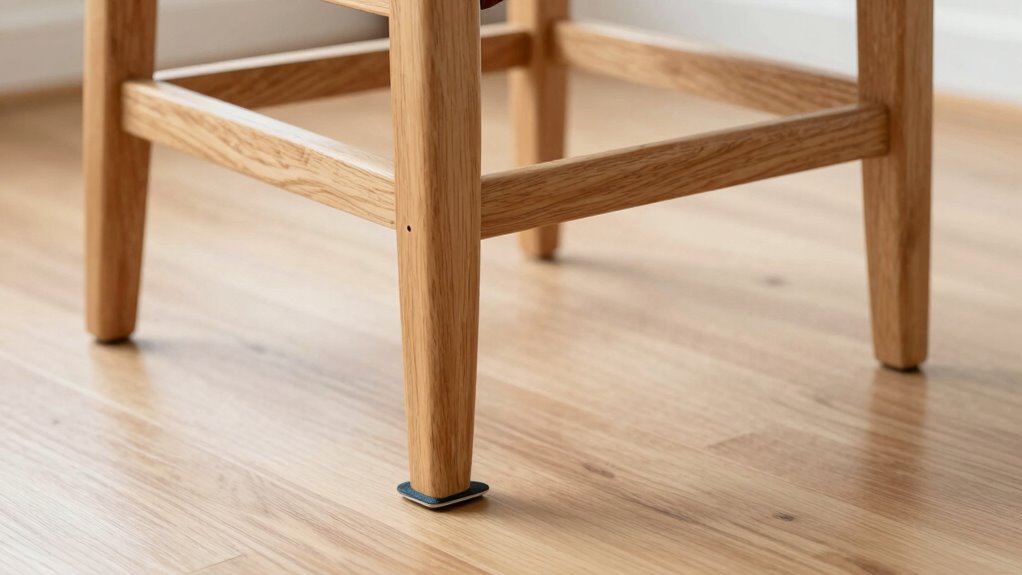
Damaged or uneven legs are a common cause of a wobbly chair, but you can often fix this quickly with shims or pads. These simple solutions improve chair stability and make leg repair easy without special tools. First, identify which leg is uneven by gently rocking the chair. Then, slide a shim or pad under the shorter leg until the chair feels steady. Use the table below to choose the right solution:
| Leg Condition | Solution |
|---|---|
| Slightly uneven | Thin shim or pad |
| Damaged leg | Replace or pad the damaged area |
| Shorter leg | Add multiple shims |
| Worn-out pad | Replace with a new pad |
Shims and pads are affordable and effective, providing quick chair stabilization without extensive leg repair.
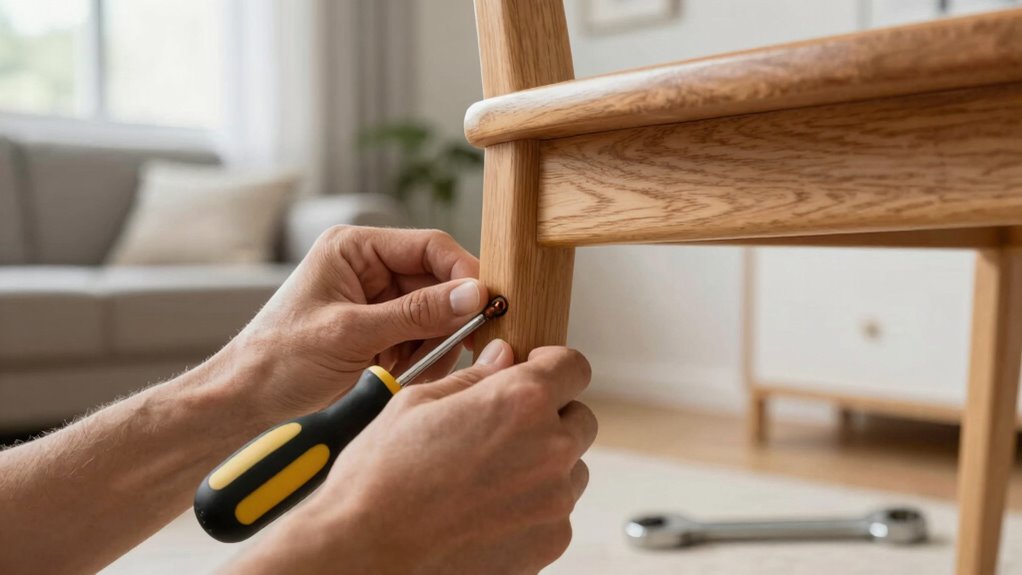
Repair Loose Joints Without a Workshop
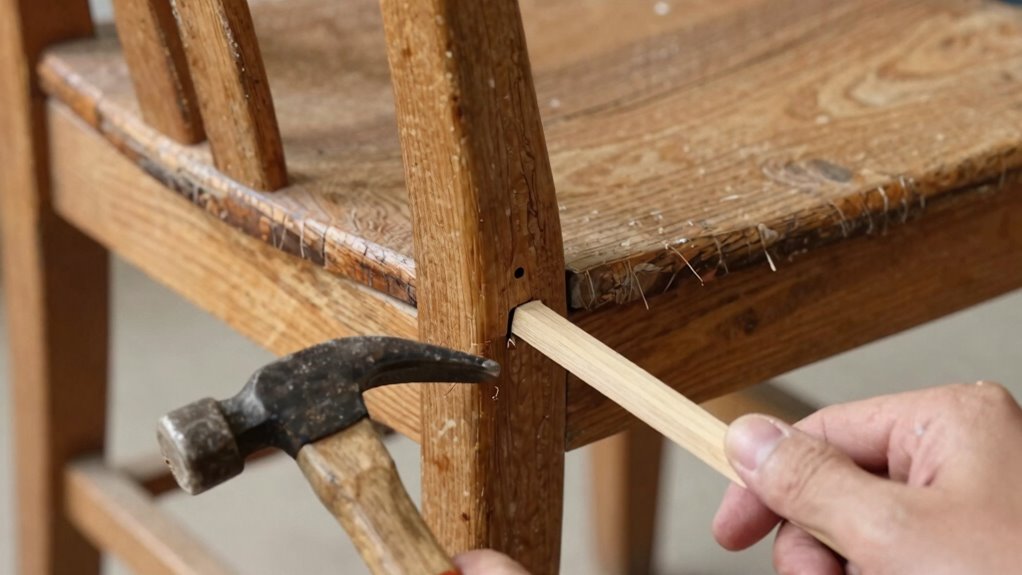
You can tighten loose joints quickly using simple household tools. Applying strong adhesives like wood glue or epoxy can secure the joints without needing a workshop. Just follow the instructions carefully to make certain a solid, lasting repair.
Tighten Joints Effectively
Even without a workshop, tightening loose joints is straightforward with some basic tools and patience. To improve joint stability, focus on methods that leverage material expansion and contraction. First, gently heat the joint area with a hairdryer or heat gun to cause slight material expansion, making the joint tighter as it cools. Next, re-tighten any screws or bolts while the material is warm to ensure a snug fit. You can also apply some wood glue or epoxy for added stability if the joint allows. Finally, check for gaps or movement and repeat heating if needed.
- Use heat to encourage material expansion for a tighter fit
- Re-tighten screws or bolts while the joint is warm
- Add wood glue or epoxy for extra stability
- Test joint stability after each step
Use Household Adhesives
Household adhesives offer a simple and effective way to repair loose joints without needing special tools or a workshop. Wood glue is ideal for wooden chairs, providing a strong bond when applied to cleaned, dried surfaces. Epoxy resin works well for more damaged or mixed-material joints, filling gaps and creating durable fixes.
| Adhesive Type | Best For | Curing Time |
|---|---|---|
| Wood Glue | Wooden joints | 1-2 hours |
| Epoxy Resin | Cracks and gaps | 24 hours |
| Super Glue | Small repairs | Minutes |
| PVA Glue | Light loads | 30 minutes |
| Contact Cement | Large surfaces | 15 minutes |
Choose the right adhesive based on your chair’s material and damage, and you’ll restore stability in no time.
Test Your Repair and Make Final Adjustments
Once you’ve tightened all the bolts and made your adjustments, it’s important to carefully test your repair to confirm the wobble is gone. Sit on the chair and gently shift your weight to see if it feels stable. If it wobbles, identify which part still needs attention. Make final adjustments as necessary, such as tightening loose joints or reapplying adhesive. Take your time to ensure each adjustment is secure before testing again. This step helps prevent future wobbling and ensures your fix is lasting. Remember, patience is key during this process. Here’s a quick checklist to guide you:
Test your repair by sitting and gently shifting weight to ensure stability and a wobble-free chair.
- Test your repair by sitting and shifting weight
- Check for any remaining wobble
- Tighten or re-glue loose joints
- Repeat testing until stable
How to Keep Your Chair Wobble-Free in the Future
Wondering how to keep your chair stable over time? Regularly check and tighten any screws or bolts to prevent future wobbling. Consider adding felt pads or a small cushion under the legs for extra cushion comfort, which can also help distribute weight evenly. Keep the chair on a flat, stable surface to minimize uneven wear. If your chair’s aesthetic design allows, replacing worn or uneven legs can restore stability without sacrificing style. Avoid overloading the chair beyond its weight capacity, as this can loosen joints. Periodic maintenance guarantees the structure remains solid, prolonging its lifespan. With these simple steps, you’ll enjoy a wobble-free chair that’s both comfortable and visually appealing for years to come.
When to Call a Professional or Replace Your Chair
Knowing when to call a professional or replace your chair is vital to guarantee safety and comfort. If your attempts at chair repair don’t restore stability or if the wobbling worsens, it’s time to seek expert help. Persistent issues may indicate structural damage or hidden flaws that compromise furniture stability, risking injury. Consider replacing your chair if repairs become costly or ineffective.
You should call a professional if:
- The wobble persists despite DIY fixes
- Wood or joints are cracked or splintered
- The chair feels unstable or unsafe
- Multiple repair attempts have failed
Prioritize safety over saving money—professional chair repair ensures your furniture’s stability and longevity. When repairs aren’t enough, replacement is the safest choice for comfort and peace of mind.
Frequently Asked Questions
Can I Fix a Wobbly Chair Without Any Tools or Supplies?
Yes, you can fix a wobbly chair without tools or supplies by focusing on furniture stability and wood joint repair. Push the legs firmly to identify loose joints, then use household items like tightly wrapped cloth or paper to fill gaps. For added stability, you might use strong tape or apply pressure until the joint tightens. These quick fixes help stabilize your chair without needing specialized tools or supplies.
How Do I Identify the Specific Cause of the Wobble?
To identify the cause of the wobble, first check for joint looseness by gently rocking each joint to see if it moves excessively. Then, inspect the legs for unevenness by placing the chair on a flat surface and observing if all legs touch the ground evenly. Address any loosened joints with glue or tighten screws if possible, and level uneven legs with simple adjustments like trimming or padding.
Are There Temporary Fixes for an Unstable Chair?
A wobbly chair feels like a dance partner who can’t keep steady—you’re tempted to fix it quickly. For temporary fixes, tighten loose screws or add shims under uneven legs; these can stabilize it temporarily. But remember, professional repairs are best for long-term safety. While quick fixes give you immediate relief, investing in proper repairs guarantees your chair stays sturdy and safe, avoiding future wobbling and accidents.
What Safety Precautions Should I Take During Repairs?
When repairing your chair, always wear safety gear like gloves and eye protection to avoid injuries. Before starting, follow inspection tips to identify loose joints or damaged parts. make sure the chair is stable on a flat surface, and handle tools carefully. Keep your workspace clear of clutter, and work in good lighting. These precautions help prevent accidents and ensure your repair is safe and effective.
How Long Does a Typical DIY Chair Repair Last?
Like a hero’s shield, a DIY chair repair can last you several years if done properly. Typically, the chair lifespan depends on repair durability and how well you maintain it, often ranging from 2 to 5 years. To maximize longevity, guarantee all joints are secure and use quality materials. With good care, your repair can withstand daily use, keeping your seat stable and comfortable longer.
Conclusion
With a few simple steps, you can steady your wobbling chair and restore its comfort. Imagine sitting down, feeling solid and secure beneath you, like a sturdy island in a gentle sea of uneven floors. No need for a full workshop—just your hands and household items. Keep it stable, keep it safe, and enjoy peaceful moments of sitting without wobble or worry. Your chair’s new stability awaits, ready to support you without a second thought.